In this post you will find a description of the Mt. Kazbek peak attack and tips on how to prepare for it to be successful.
Of course, this is not the only way to reach this summit, but definitely the most popular one. We assume that if someone tries to get to the top of Mt. Kazbek by another route or by skits, he will be able to plan the action himself (because it already requires a really high mountain experience).

Final Warning!
Those for whom the expedition to Mt. Kazbek will be the first high-altitude expedition and all those who do not yet have a high mountain experience should decide to climb the summit under the care of a mountain agency and guides. Those who have mountain experience in winter conditions know the principles of first aid in high mountains, belaying and moving on the rope and have all knowledge on how to mark the way on the glacier and what to do if their companion falls into the gap, may try to get Kazbek’s summit alone. We pay attention to the words “have experience“,”know” and”knowledge“. They are not the same as just taking even the best course of winter tourism, climbing and others. In both cases, you should definitely not choose to get to the Mt. Kazbek only by yourself, because the way to the top leads through the glacier with many fissures, therefore it is necessary for our safety to tetherup the expedition companions with a rope.
Beginning of the peak attack – Meteo Station (Bethlemi Hut)
The peak attack starts normally between 1:00 am and 3:00 am. Before leaving the Meteo Station, check carefully that you have everything you need when climbing to the top. It’s all about all the equipment and about drinks (water and warm tea in a thermos!) and food (including chocolate bars and energy gels). We have at least 10 – 14 hours ahead of us (depending on group speed, weather, etc.), so we need to be sure that we have not forgotten to pack the essentials. Before leaving the Meteo Station you should eat a solid meal (here, maybe not the tastiest, but certainly high-calorie cheese freeze-dried snacks vare the best) and drink something warm. During the peak attack alone there will be no time or opportunity for a more specific meal than energy bars or a packet of dried sausage, so with this in mind you should eat well before the start of the whole action, even if your appetite is not good. During the peak attack (even in the summer!) you can expect a sensible temperature down to -20 degrees Celsius (-10 degrees will be the standard), so you should dress really warm and take another spare layer of clothes in your backpack.

The first stage – getting from the Meteo Station to the glacier
This stage takes up to 2 hours. On the way, we will pass two characteristic places: the White Cross and the Black Cross. It is very likely that in their neighborhood we will see the tents of teams that decided not to arrange their base at the Meteo Station, but just a bit higher. You can do so. The downside is that you do not have access to the Meteo’s infrastructure: access to water (in the summer in good weather) and the kitchen, and lack of company, because the vast majority of people decides to take a break in the base at the Meteo Station. The upside is that you do not have to pay for the night and you do not have to deal with all the trash that reside in the Meteo Station and its surroundings. The first challenge during this stage is getting used to the darkness surrounding us and the fact that we only see what the light from the headlights allows. This episode is usually done without crampons and unbound with a rope. In case when the snow starts already at the Meteo Station (sometimes even in the summer!), we use crampoons from the Station itself.

The second stage – crossing the glacier and reaching the plateau
At the moment we reach the beginning of the glacier, we will make a short break. This is an opportunity to replenish fluids and calories. However, the most important task at the moment is mounting the crampons and tying up with a rope. It’s worth to dress up in the Meteo Station, because now we only have to attach a rope and we do not have to fatigue ourselves when putting on the whole harness. When we are ready, we are going through the glacier. This is by far the most dangerous part of the peak attack, because there are many gaps in this part of the glacier. You must be very careful and focused with every step. After another 2 hours, we will start getting to plateau (approx. 4400 m above sea level). The sight of the rising sun over the peaks surrounding us will give us some extra enegry. On the plateau you can see the tents of teams which decided to camp here and attack the summit. This solution has one basic plus – a decidedly shorter peak attack. However, we only recommend this option to really experienced teams, because in the case of a weather break you may find that the plateau base is “cut off” from the possibility of safe descent. In this case, people who do not know what to do in such situation can expose themselves to a really great danger.

Map, navigation and other aids in determining the route
through the glacier
There is no one right way across the glacier on the way to the Kazbek peak and back to the Meteo Station. The map, navigation, etc. can help us in determining it, but they do not give any assurance. The Gergeti glacier is a difficult glacier that is constantly changing. New gaps appear every day, and the snow bridges that we passed on our way to the top unexpectedly break down when we go down. In addition, many roads are run near the side moraine of the glacier, where we are exposed to crumbling stones, which are really large and extremely dangerous. Therefore, the fact that you have a map of a safe road that your friends went a year ago (or even a week ago or yesterday!) does not mean anything. Even guides who in the season can be on top several days in a row, do not go “by heart”, and each time they choose a road that will be suitable in given weather conditions, at a given time of the day, and even for a specific group. That’s why we do not add any maps or clues which way is the best in this description. We would like to remind you again that to go safely through the glacier on the way to the top of Mt. Kazbek you need to have mountain experience in winter conditions, know principles of first aid in high mountains, belaying and moving with the rope, and above all, know how to mark the way on the glacier and know what to do if your expedition companion falls into the gap.

The third stage – the road from plateau to the pass
When, usually at sunrise, we reach plato (around 4400 m above sea level) we often hear a sigh of relief from our clients, because the majority of them thinks that the worst is behind and we will be at the top soon. This is true – the technically most difficult glacier is behind us, but there is still a long, tiring and full of exposure traverse route that will lead us to the pass before the summit. From our experience we know that this 3-hour stage is the one where the most people give up and turn back, because their reserve of energy and strength shrinks fast with each step up. This stage is usually done in the “ten steps and rest for deep breaths and exhalation, another ten steps, another rest, etc.” style. It is very important to refill fluids and calories during a short stop on the plateau, because during this stage we will need a lot of energy. Important: this stage is also done with rope! We will untie the rope on our way back to the Meteo Station after descending the glacier!

The fourth stage – from the pass to the peak
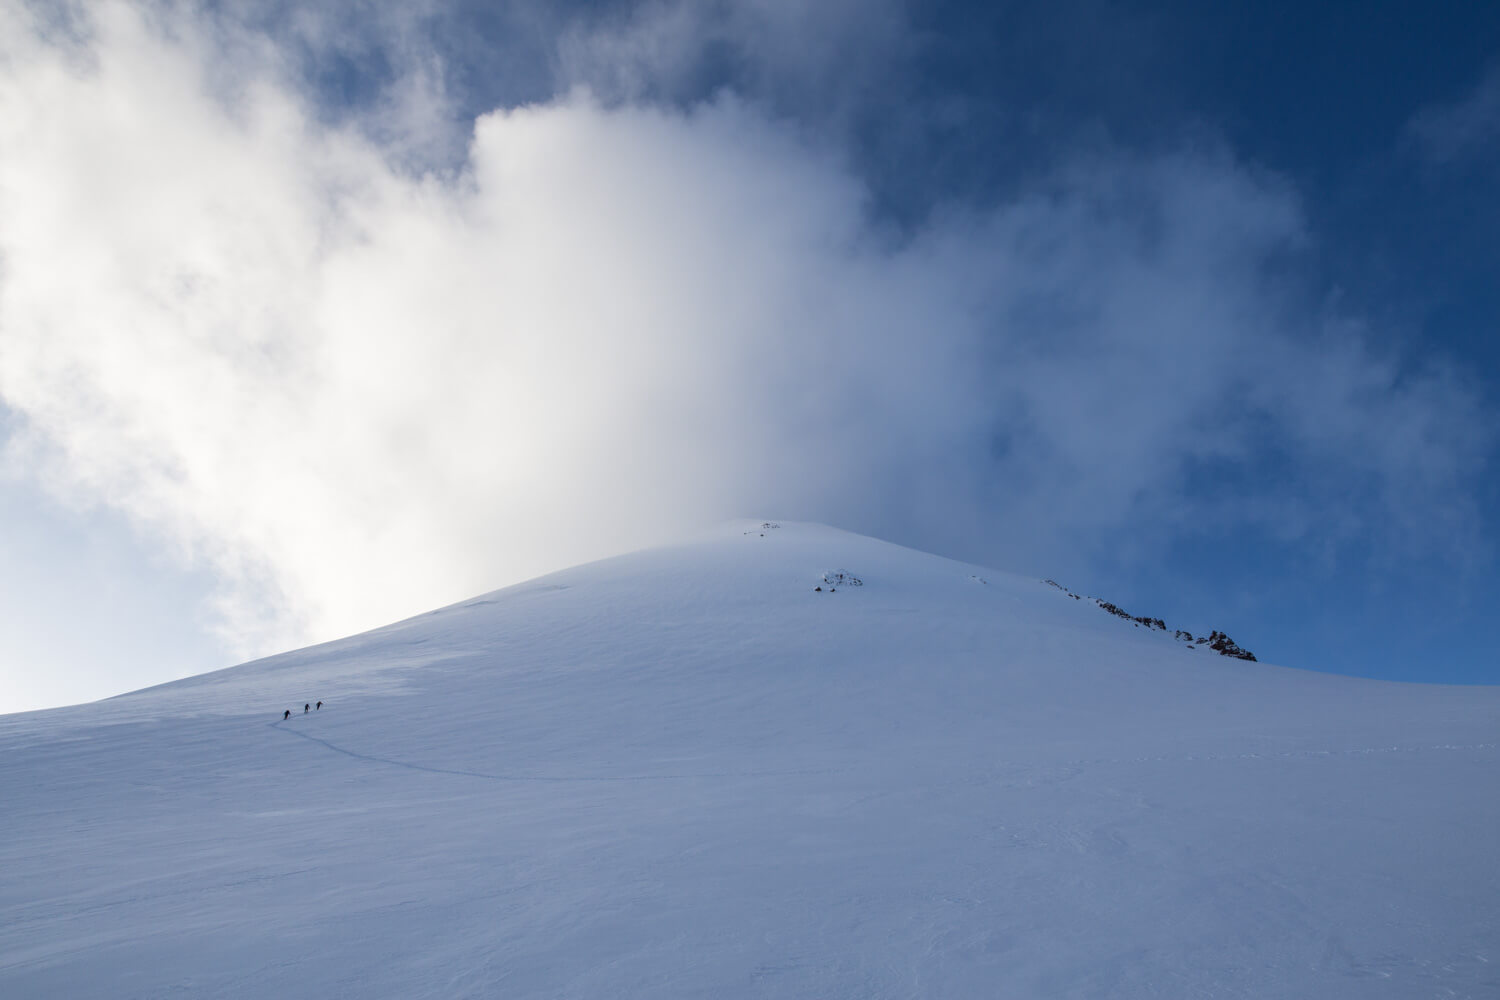
When we reach the pass before the summit, we can rest for a moment, because it is quite a safe and flattened section of the road to the top. Before us is just an ice lobby with a slope of about 55 degrees, which leads straight to the top of Mt. Kazbek. Most often we leave backpacks and poles on the pass, and we enter the top without unnecessary burden, assisting ourselves with ice axes. Although the summit seems really close, we have to climb for about an hour to get there. The strong inclination makes every step a great challenge. This stage is particularly dangerous in difficult windy / snowy weather, when visibility is poor and when we have to be careful not to be blew off!

Mt. Kazbek peak!
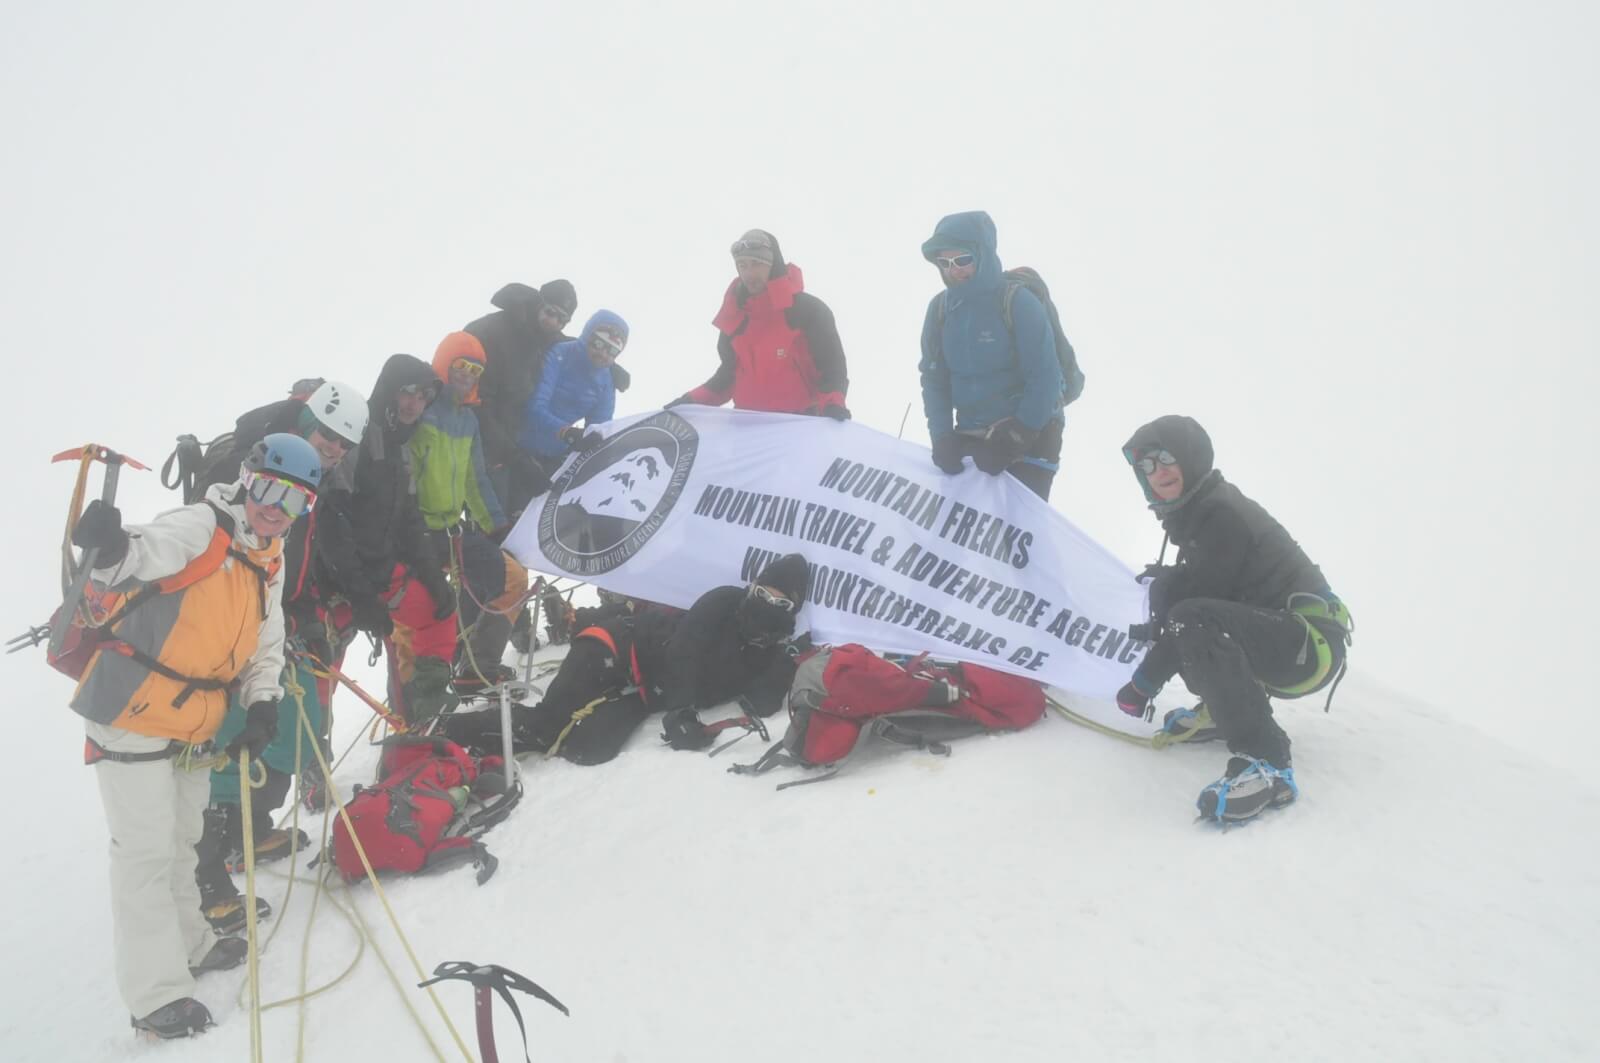
Well, here we are! If we applied all the safety rules and if we had enough strength, after about 8 hours after leaving the Meteo Station, we should stand at the top of Kazbek, that is 5047 m above sea level (5033 m is an old, already updated but often metioned altitude). If we are also lucky and have good weather, we will see a stunning panorama of the whole Caucasus around us. From the top of Kazbek we can see even the tops of Elbrus (5642 m above sea level) – the highest peak of Europe and one of the peaks of the Crown of the Earth. If the weather is bad, then our photo from the top will probably look as if we made it against a white wall. Although most often at the top we spend no more than 10 minutes, it is of course an unforgettable time, when everyone enjoys reaching the goal and seeing views from the top (unless surrounded by clouds and fog). We would like this moment to last forever, but there is still a long way back in front of us!

The fifth and most important stage – safe return from the top
Yes, this is definitely the most important stage of the whole trip: a safe return from the summit to the Meteo Station! Although fatigue is already really big, you still need to stay focused on setting a safe route. This stage should take us about 4-5 hours, but there are peole who are so tired that they are practically “rolling” to the Meteo Station for the next 7-8 hours! Most often, after leaving the summit, we stay one more night stay in the Station / in the tent nearthe Station, and on the next day we descend back to Stepancminda (Kazbegi). The strongest (and the fastest) ones may be tempted to descend straight from the summit to Stepancminda, but this is another 4-5 hours of walk. It is very important to eat something solid immediately after reaching the Meteo Station and drink a looooooooot of warm tea and water, so that our body can start the regeneration process. Do not go to sleep without a dinner / supper because your body will not be able to regenerate, and you will still need energy to go down (whether on the same or the next day) to Stepancminda (Kazbegi). Whilde wandering from the Meteo Station to Stepancminda, we can again get some help and hire horses to transport our luggage. Just as before – one horse can take up to 60 kg of equipment (4 large or 5 small backpacks) and costs 350 lari. Also, as before, you can rent a car, which will pick us up from the vicinity of the Holy Trinity Church and take you straight to Stepacminda (cost: 60 lari), where we all go straight for a tasty dinner (at last something other than liophiles!), wine (yes, please!) and of course – shower (we have a few days behind us without access to the bathroom). When we reach Stepancminda and see Mt. Kazbek’s peak far behind us we will feel how much we have done and we will be able to fully enjoy our success.
If you have any other questions, please write us: info@mountainfreaks.ge
or contact us through our Facebook: Mountain Freaks – Mountain Travel & Adventure Agency.


