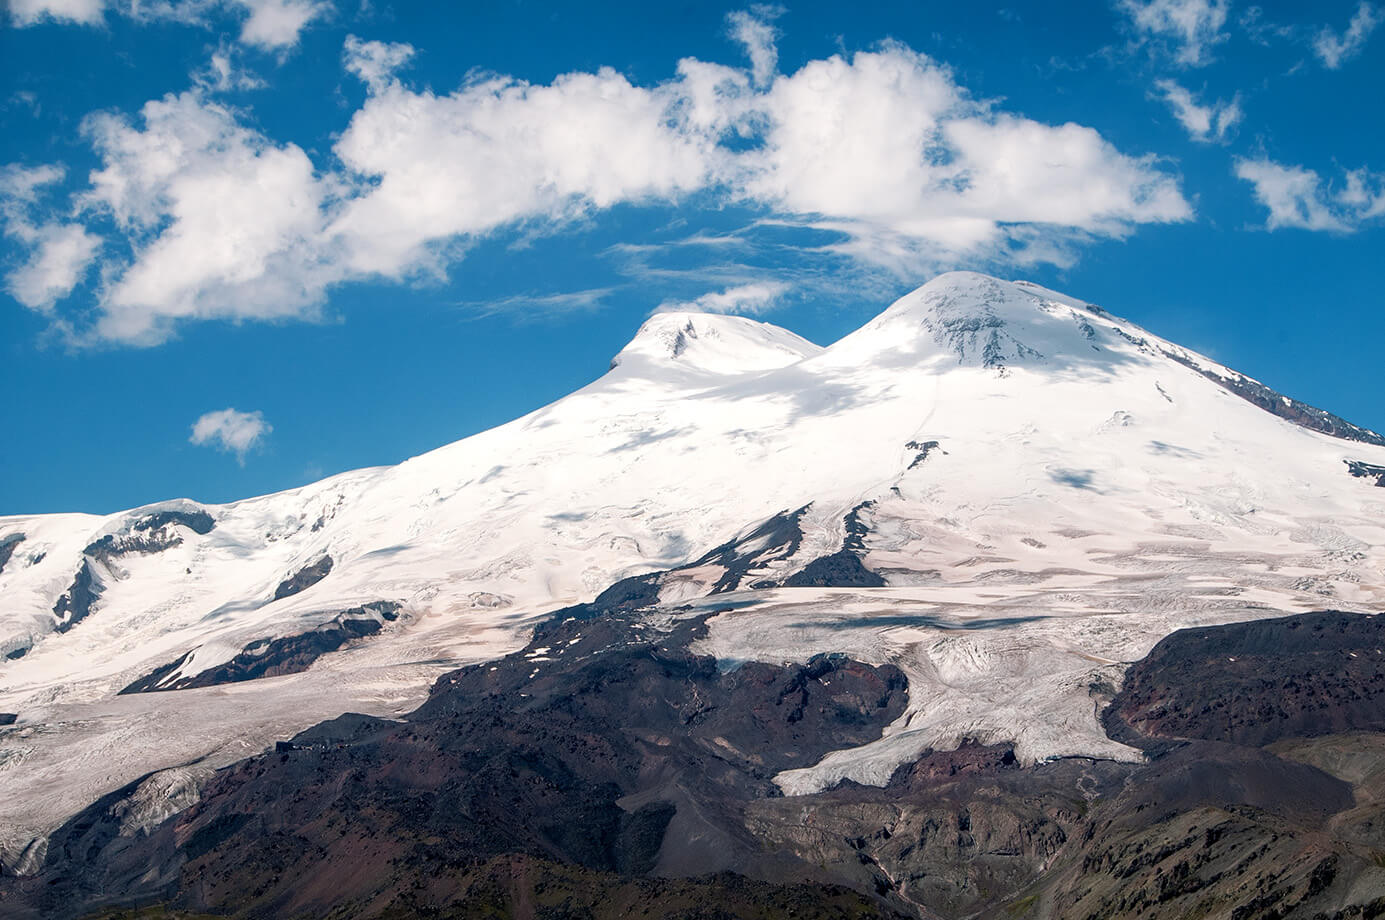
In this article, we want to take up the topic of the Mount Elbrus (5642 m) summit push. It is the highest peak in Russia and in the Caucasus, and, according to many, in Europe. We can give you some hints about preparation and review the climb’s successive stages. The south route we are going to describe is not, of course, the only one. However, it is certainly the most popular, which is why we want to focus on it.
Important remarks before setting out for Elbrus summit push!
People for whom Elbrus is the first alpine expedition and people who do not have much experience in high mountains should decide to hire a mountain guide for the time of the summit push. Only climbers with experience in high mountains, who are able to climb in winter conditions and are able to react properly in case of an emergency, when first aid is needed, can be tempted to try to reach the summit on their own. It is worth adding that the necessary skills during the summit push on Elbrus are the ability to navigate in alpine terrain, the ability to move on a glacier and the ability to use high-altitude equipment, as well as knowledge of belay techniques and working with ropes.
Mountaineering experience does not only come from climbing or travel courses; it mainly comes with real practice. Seemingly simple route to the Elbrus peak can easily lead you astray when the weather conditions deteriorate. While the main cause of accidents on Kazbek is a glacier dotted with cracks, on Elbrus it’s the capricious and volatile weather conditions. They can lead to hypothermia, loss of orientation and, as a result, getting lost on one of the 23 Elbrus’ glaciers, which may result in seriously damaging one’ health, or even in loss of life. This Russian giant is famous for its low temperatures, which are also prevailing in the middle of summer; combined with a strong wind, sensible temperature might reach -50°C. Anyone planning a trip to Elbrus must know that there’s always wind there. Sometimes the wind is lighter, which on Elbrus still means about 30-40 km/h, and often it is even 70-80 km/h.
How to prepare for the Mount Elbrus summit push
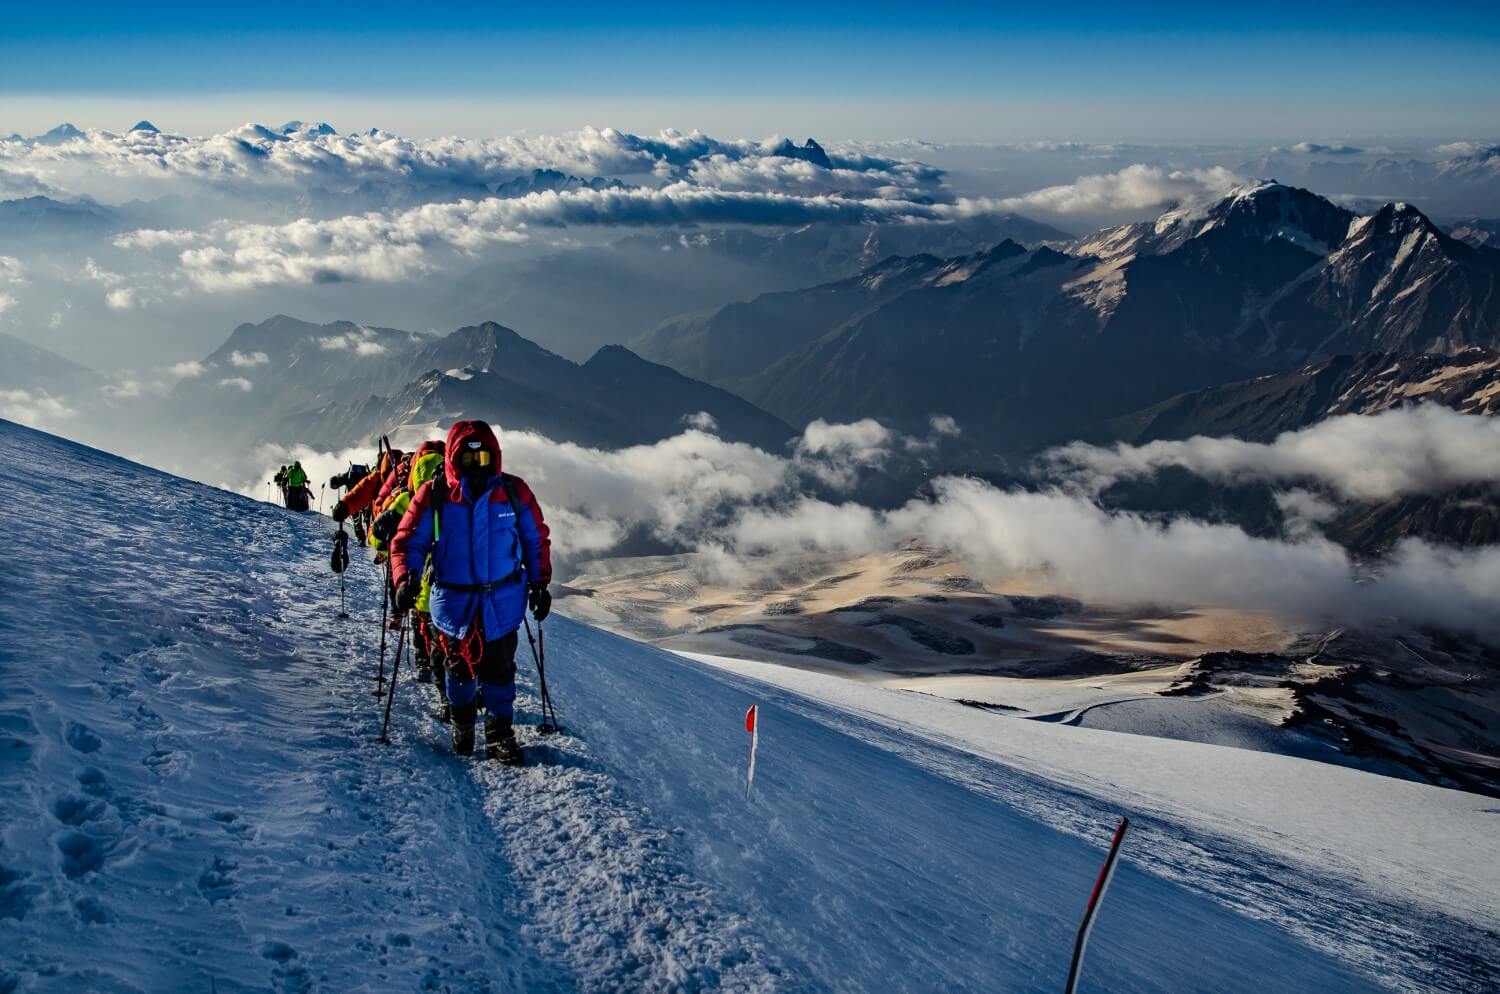
Before leaving the base for a summit push, we must ensure that we have packed everything we might need in the next few hours. The most important thing is proper and efficient equipment (list of equipment needed during the Elbrus summit attack: HERE). It will not be possible to come back to the basecamp for a forgotten ice axe or an extra jacket during the summit push. You need to know that we eat all meals while moving. During the summit push, there are no stops for eating sandwiches or brewing tea. Each participant in the expedition has to control their own energy level and if it is too low, react accordingly by consuming calories. For the summit push, you need to be prepared for 10-12 hours of uninterrupted physical exertion. The most vital part of getting ready for leaving for the summit push is having a balanced meal, which you eat just before you go. Hot fruit porridge or a freeze-dried dish would be the perfect choices; they supply us with energy and warmth from the very beginning. Information on clothing suitable for the summit push you might find: HERE.

Stage 1: Approaching the basecamp at an altitude of 5000 m
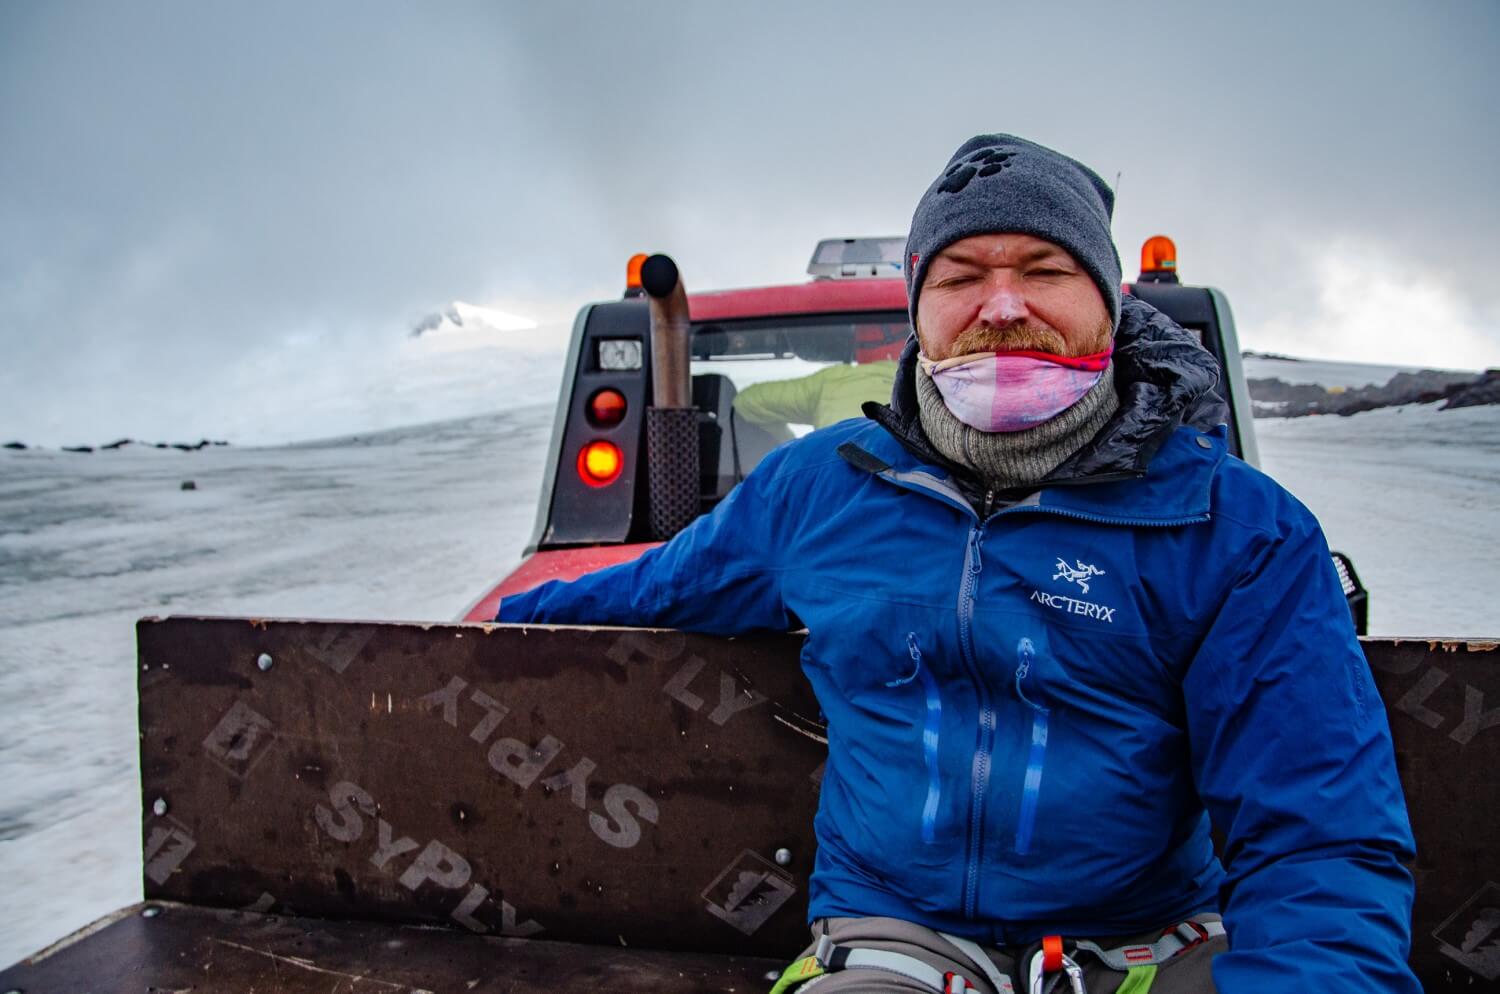
In the basecamp on the south route to the peak of Mount Elbrus, there are a couple of different alternatives you can choose from. You can stay in your tent, in steel containers, the so-called “barrels”, in Diesel Hut (shelter located on the site of the former base Prijut-11), and even in the three-star hotel LeapRus. We have described it in detail: HERE. Those who decided for a summit push through the usual south route can begin on foot from the basecamp located at the altitude of 3700 – 4000 m (depending on the chosen place for an overnight stop) or can get a lift to the base at 5000 m (a little above Pastukhov Rocks) with a snow tuck. The summit push starts between 11 p.m. and 4 a.m., depending on the season time and the choice between climbing all the way on foot or with the help of the snow tuck. You need to remember that in both these versions you must be prepared for extreme physical exertion, as in a couple of hours you need to go up the elevation of around 2000 m.
NO SNOW TUCK VERSION: It should take around 2.5 – 3 hours to reach Pastukhov Rocks. If you sleep in “the barrels”, or in the containers next to them, you will get to the Garabash cable car station in 20 minutes, an after an hour you should reach Diesel Hut at the altitude of 4100m. It should be remembered that we climb through the night, when everything is covered with ice, and lack of sufficient concentration might result in a fall. The first challenge you must face in this stage is getting used to the darkness; you can only see what is illuminated by your headlight and maybe by passing snow tucks. At Diesel Hut, you will begin a slow and arduous ascent. On your right you might see tents set up by other people. Pastukhov Rocks are stretched between the altitudes of 4600 m and 4800 m. Then, the route becomes even steeper, and you can really feel the effects of lower oxygen content. For the next hour and a half you walk in complete darkness. At this moment, it is important to find your pace, which will allow you to efficiently climb the steep ascent and steady your breath. At an altitude of 5000 m you pass famous snow-strewn snow tuck; however, due to pervasive darkness, many people just miss it. Snow tucks usually drop off the passengers 50-100 m beyond this point. You are already after 4 hours of climbing when people from the snow tucks begin their summit push.
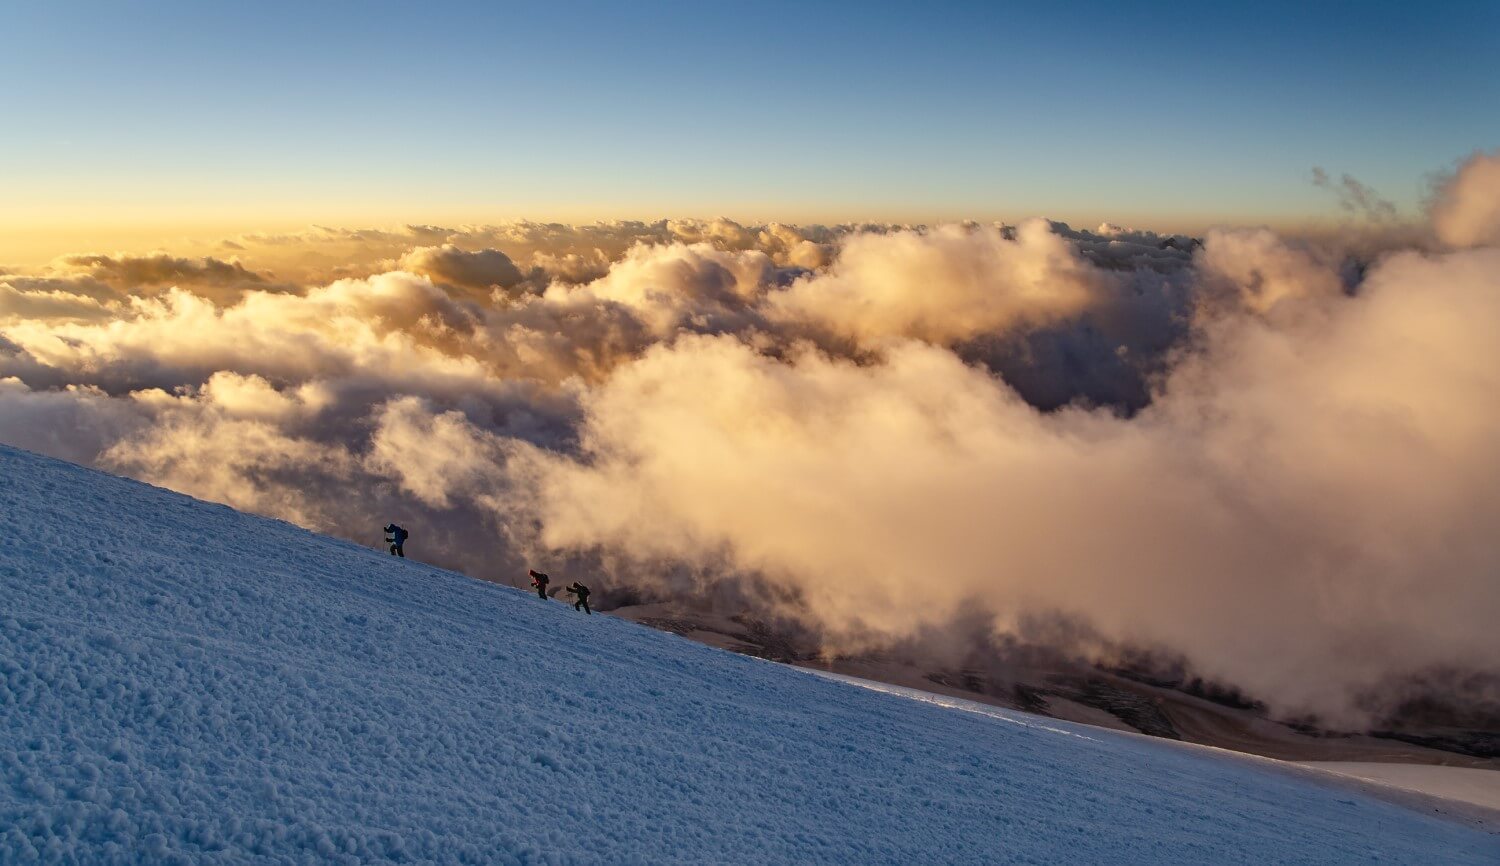
SNOW TUCK VERSION: Choosing this variant, we save around 4 hours of climbing and a lot of strength and energy. We leave the base between 1 a.m. and 4 a.m. (depending on weather conditions). We ascend the steepest part of the route (around an altitude of 5000 m) with a snow tuck. It should be remembered though that serious physical exertion still awaits us. The snow tucks usually wait for us somewhere by the upper Garabash cable car station, which we must reach from the basecamp (around 20 minutes’ climb). Before we take a seat on wooden benches prepared for snow tuck passengers, we must put on crampons and down jackets. Temperature, wind strength and weather conditions can change completely during this 40-minute ride, and it will not be possible to change your clothes.
Stage 2: Traverse of the eastern top of Elbrus and reaching the so-called “Saddle” at an altitude of 5300 m
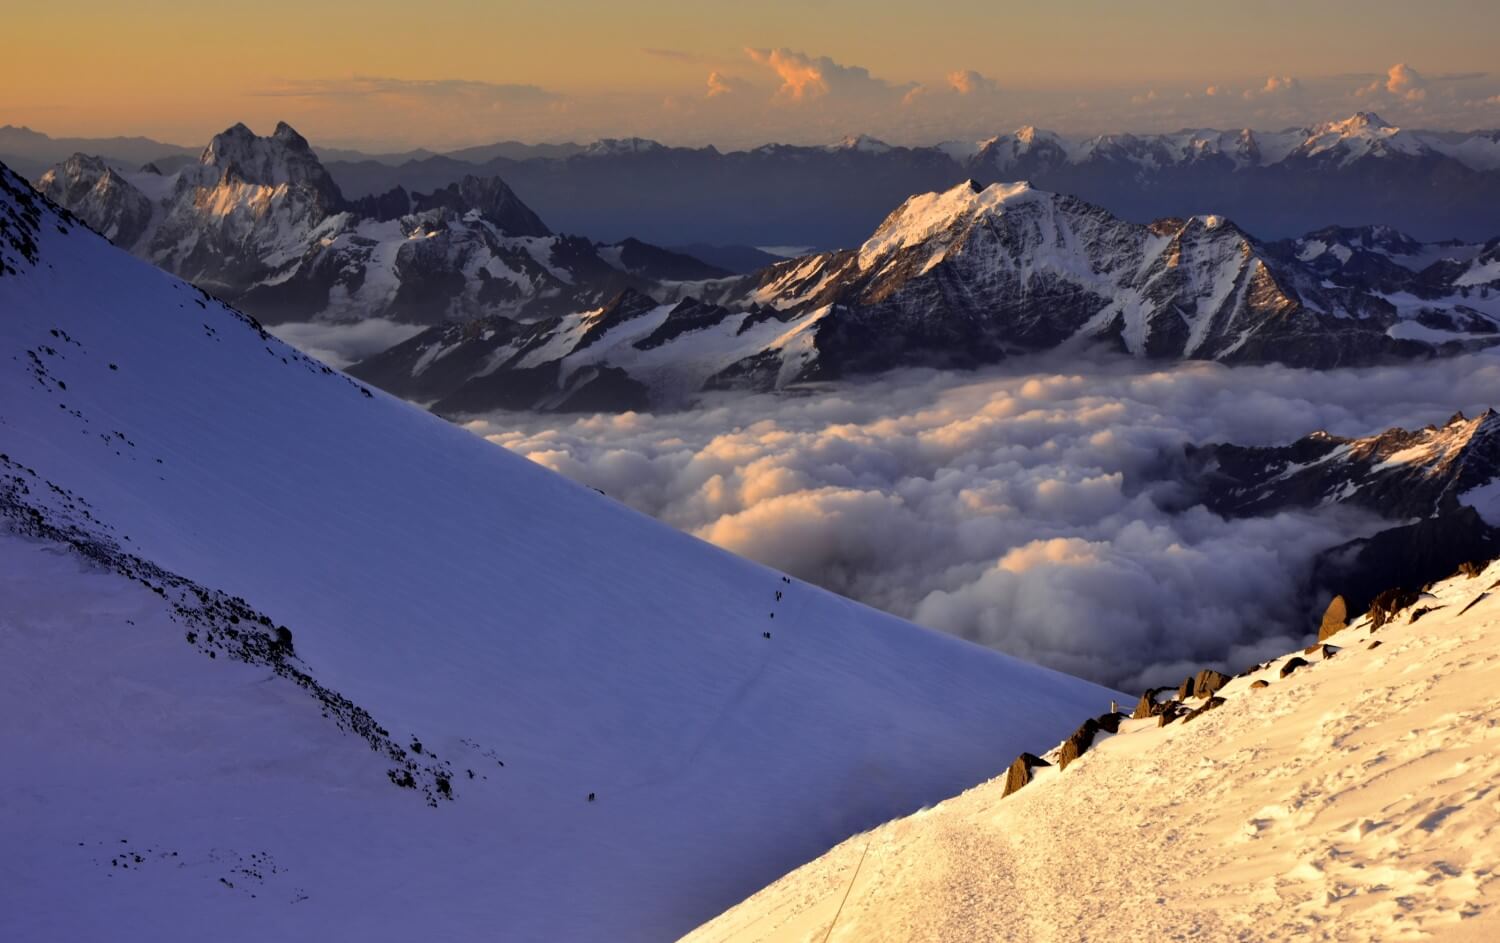
At an altitude of about 5000 m, we enter the snow ledge, which ascends gently. We traverse the lower, eastern peak of Elbrus to finally reach the so-called “Saddle” that separates the two tops of this mountain. The place is located at an altitude of around 5300 m, and we reach it after around 1.5 h from the start of the traverse. We must take each step carefully, because in this part of the route nothing protects us from the wind, and on our left, there is a steep slope. Many poles and gloves have fallen down the slope, never to be found. You should pay extra attention if you make a break for tea or to change clothes at this stage!
Stage 3: From the „Saddle” through a rope route up to the pass at an altitude of 5500 m
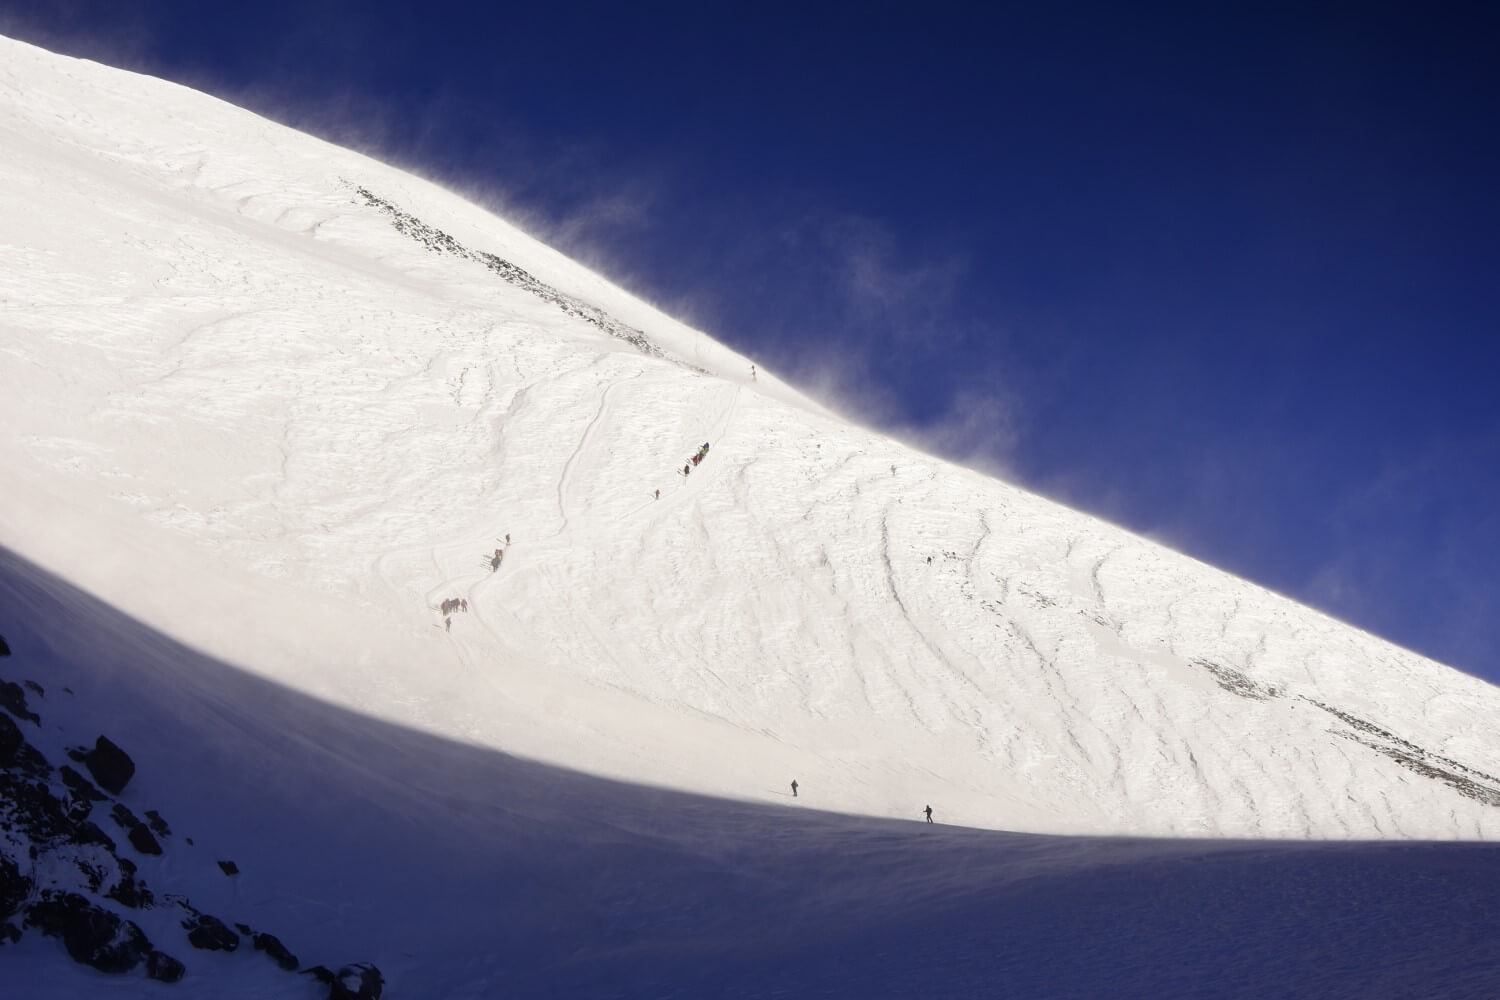
The Saddle, located between two tops of Mount Elbrus, is a meeting point of two routes to the peak, northern and southern. This is a place for a longer (a couple of minutes!) break for tea and possibly getting some calories. From this point we start a steep ascent and technically the most difficult part of the summit push, where we have to use ropes to go further. This is where a lot of people decide to stop the climb and return to the basecamp. If at this point the wind is strong and the visibility poor, it means that it is going to get worse and worse as you climb, and using the ropes is going to be extremely demanding.
Interestingly, there was a small shelter built on the Saddle in 1930s. However, it did not stand the test of time and weather conditions. They tried to rebuild the shelter twice, the last time in 2010, but to no avail. None of them has survived more than a couple of months. As you can see the weather and wind on Mount Elbrus are not a laughing matter!
After about half an hour from the Saddle, we reach a place where the lines are fixed. Every participant has to make sure that they attach the rope to the carabiner. There are people who decide to skip this step. Often this type of arrogant behaviour leads to death or serious injuries. This is one of the most dangerous parts of the climb on Mount Elbrus.
After around two hours from the Saddle we find ourselves on a pass at an altitude of 5500 m. Very soon we will begin the last, seemingly easy, part of the route to the Elbrus’ peak.
Stage 4: From the pass to the peak of Mount Elbrus at an altitude of 5642 m
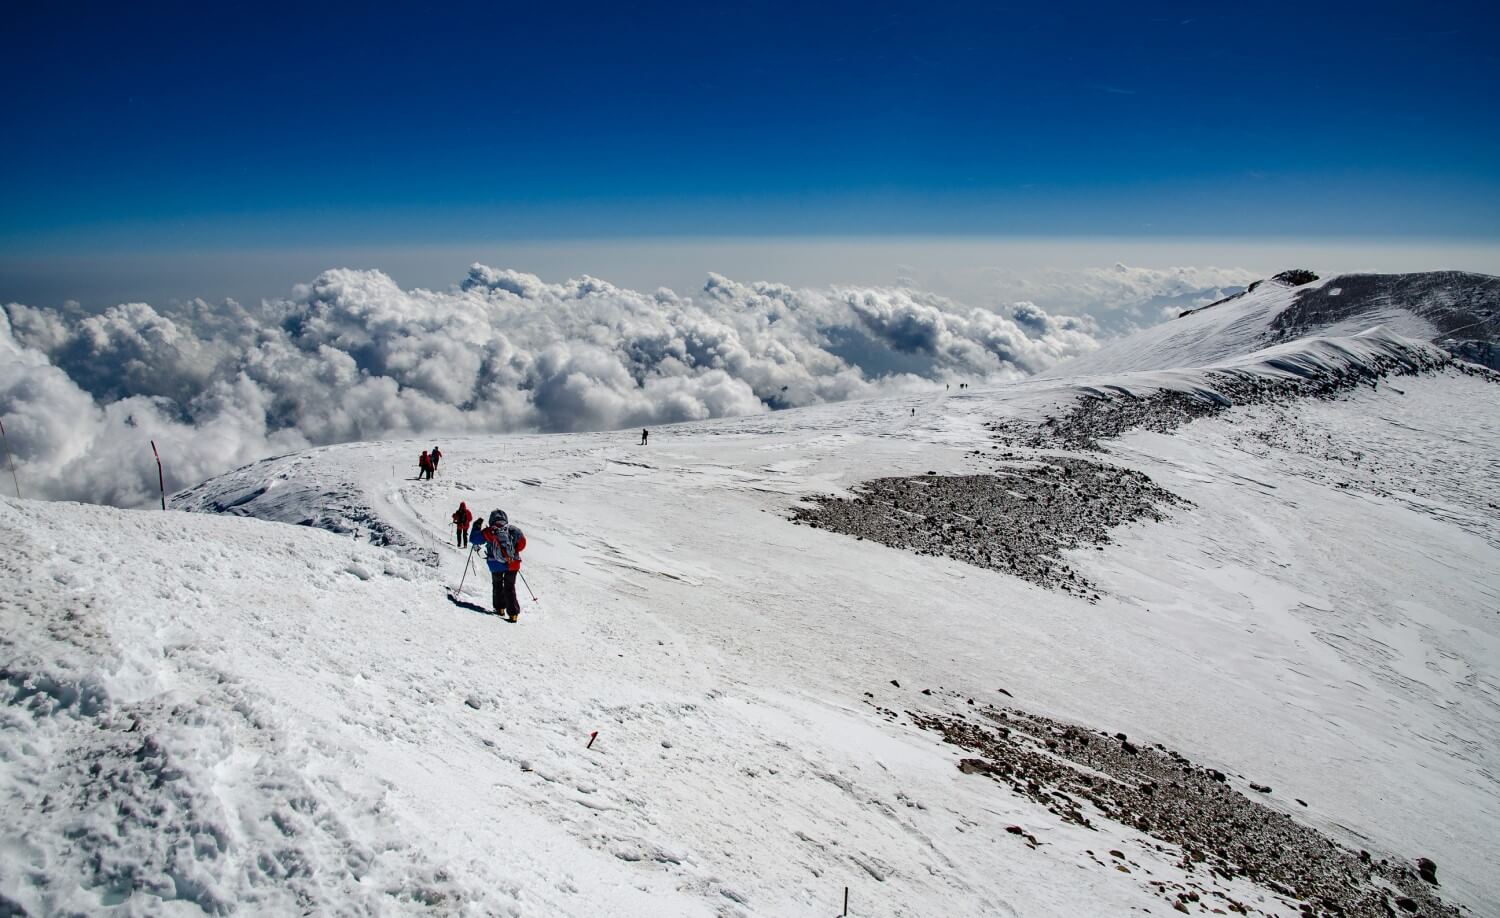
Despite the fact that the route from the pass seems easy, we still have 40 minutes to go, through a relatively flat path. We should be careful, as strong wind from both sides significantly impedes the walk. Moreover, you cannot help but feel the tiredness and low energy. At this point we should not stop or make any longer breaks, because cold wind quickly cools our tired bodies. We need to stay focused on keeping our balance and sticking to the route leading to the summit.
Stage 5: The peak of Mount Elbrus, 5642 m
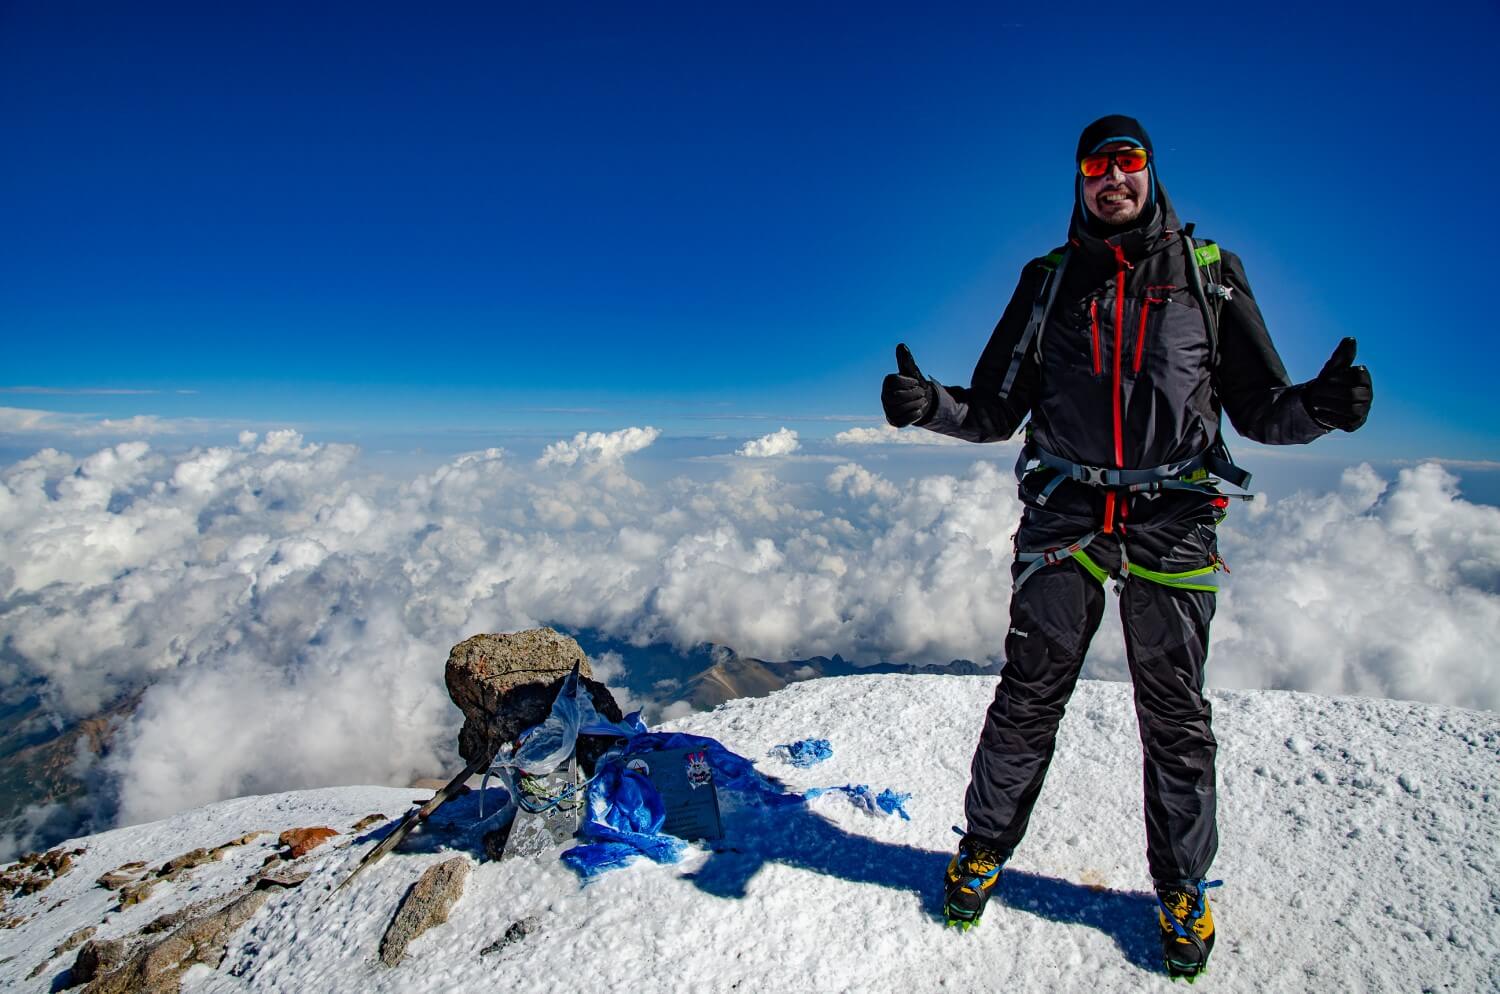
If the weather conditions have been on our side so far, and we had enough strength and motivation, we can safely find ourselves at the summit of Mount Elbrus, which overlooks the Caucasus, being higher that any of the surrounding peaks for more than a 1000 m. When the visibility is good, the panoramic view simply takes your breath away. We can take a look at the successive peaks of the Caucasian mountain range. Here we take a moment to take a breath and replenish fluids, or perhaps take a few photos.
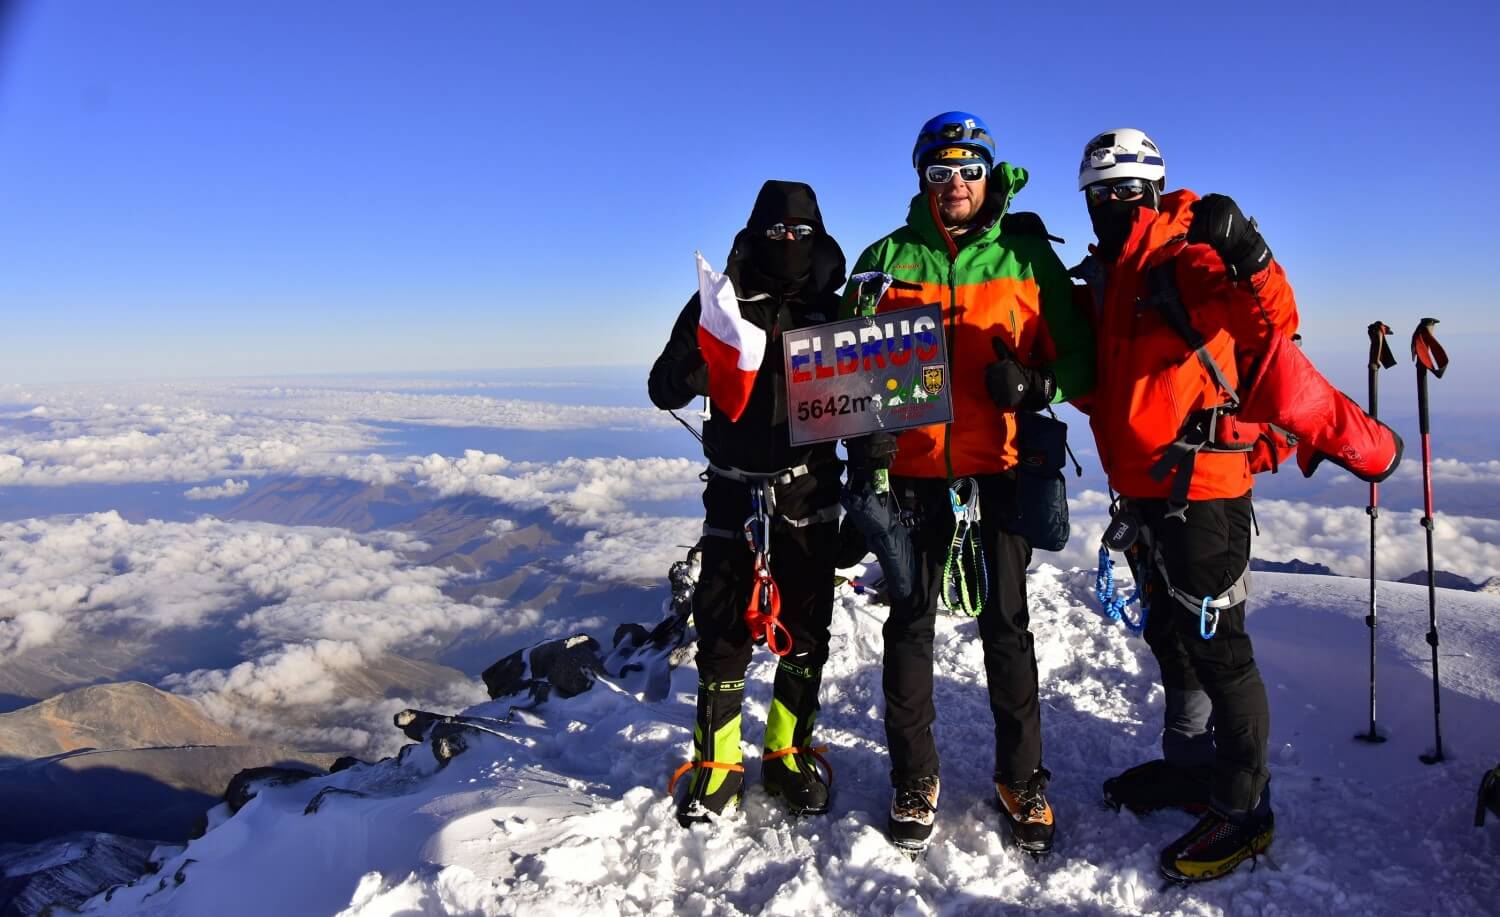
Stage 6 (and the most important!): safe descent to the basecamp
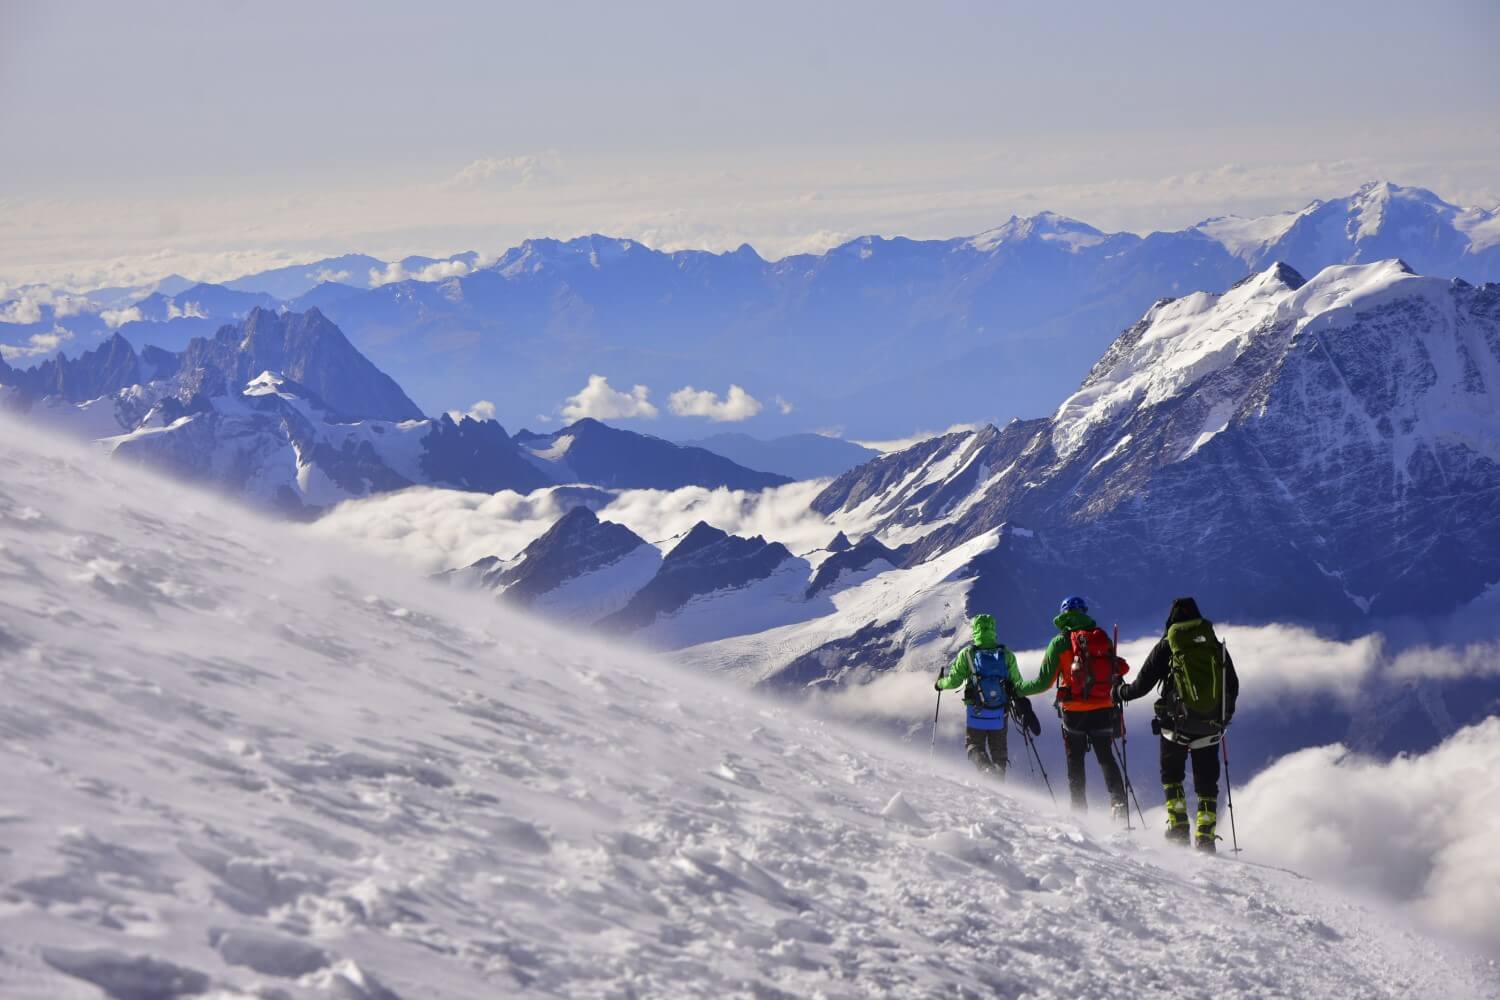
A descent from the peak is one of the most important parts of the venture. This is when accidents happen most often, as people tend to become less focused. Adrenaline levels get lower after conquering the mountain, which causes a sudden drop in strength. This stage takes around 4 hours. After 2 hours, you can get a lift down with a snow tuck or with a snowmobile. They wait for the tired climbers at an altitude of around 5000 m.
Only after having come back to the basecamp should we feel safe and consider our summit push as a success. Now, it is time to get some rest and a meal to replenish the energy lost during the summit push. During our trips, we pack our things straightaway and go down to Azau with a Gondola lift (it is no longer possible after 4p.m!). There, we can take a shower and sleep in bed, as well as have a dinner in one of the restaurants in Azau.
If you have any questions about Mount Elbrus and other Caucasian mountains, feel free to contact us here: info@mountainfreak.ge or via our Facebook page: Mountain Freaks – Mountain Travel & Adventure Agency.
